
Instrumental Matters
This page has articles about cleaning, improving and looking after your precious instruments.
Have a read… you might just find something you want to do too!
A case of mobility...
Our instruments are precious things…. they are far more than just beautiful pieces of wood. We have a relationship with each of them and each one has its own character, quirks and identity…. so it hardly seems surprising that we want to keep them safe, especially when travelling…. so a decent case is a desirable thing to have. However, cases create a dilemma… With 7 or 8 different sized instruments – before you start worrying about having several similar sized instruments or 415Hz, renaissance, German fingered, or the more specialist in-betweeners like voice flutes…. The list can get very long! So, how many cases do I need/want and how many can I carry?
Personally, I only have 2 arms, so carrying multiple cases – especially the large ones- actually becomes quite problematic. One alternative is the soft, roll bag, however, protection is limited and this might be fine for the back seat of a car, but it is not really a secure way to transport these valuables, especially if you are out and about! It is also far less of an option as the instruments get bigger.
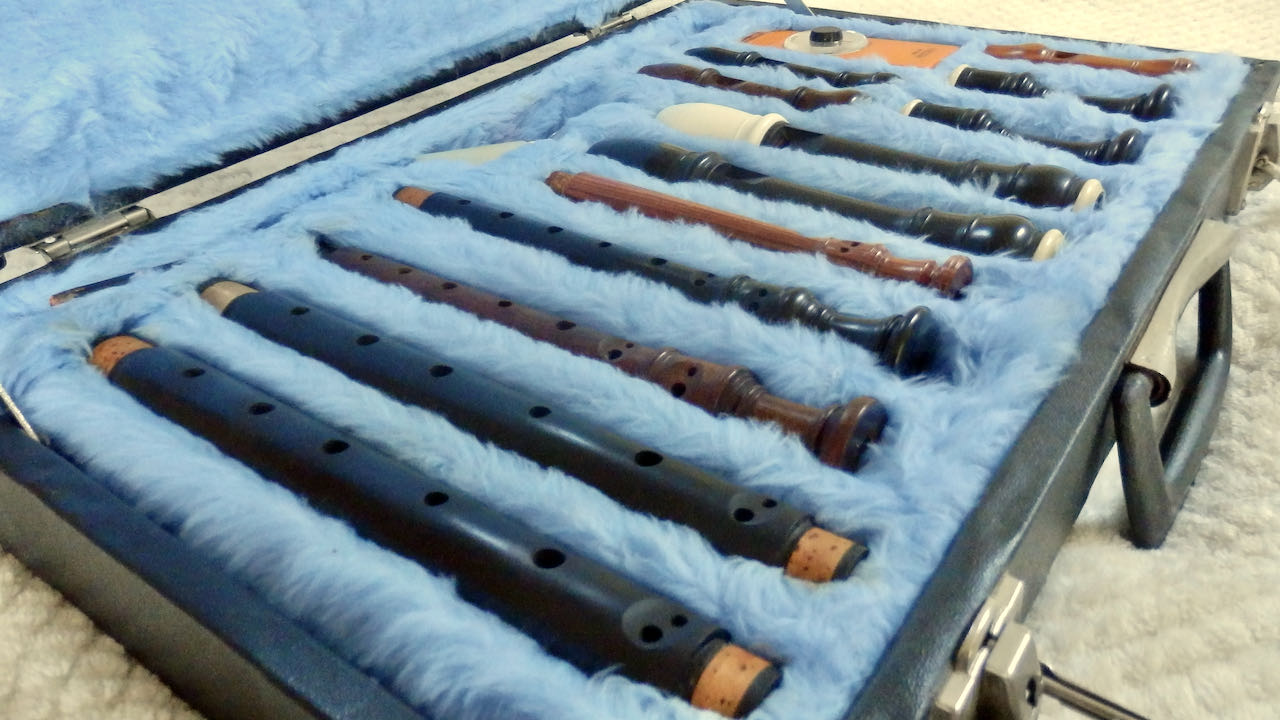
I have always kept all my solo instruments in a single case – which I made nearly 40 years ago when studying recorder at university. It has done remarkably good service and is as good today as it ever was… Other than an internal refit about 10 years ago, which replaced the by then, rather worn fabric and provided an improved layout for the instruments, it is basically the same as it was in 1982. It has space for two trebles, two descants and a sopranino, plus a very old metronome and compartments in the lid for mops and music.
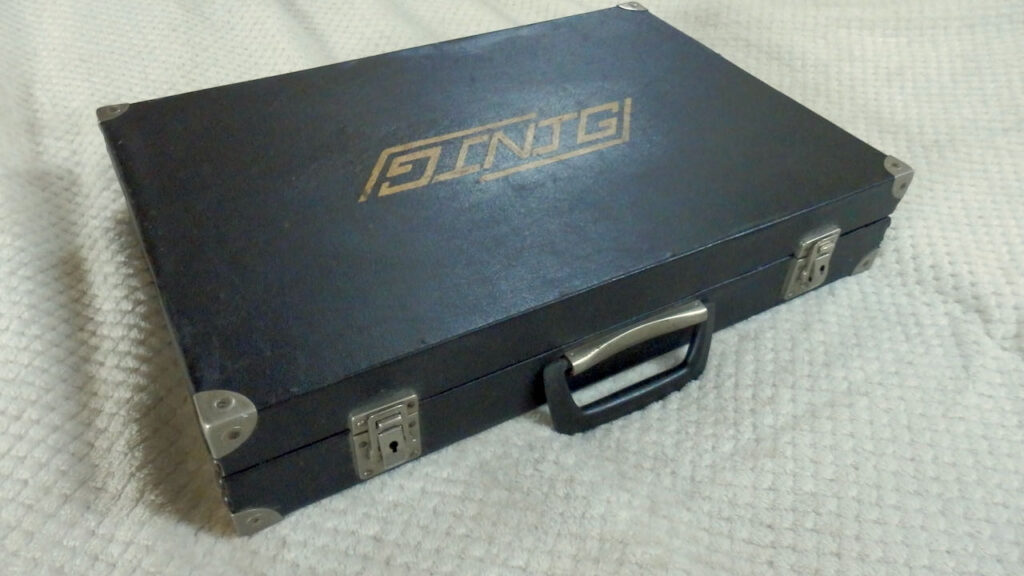
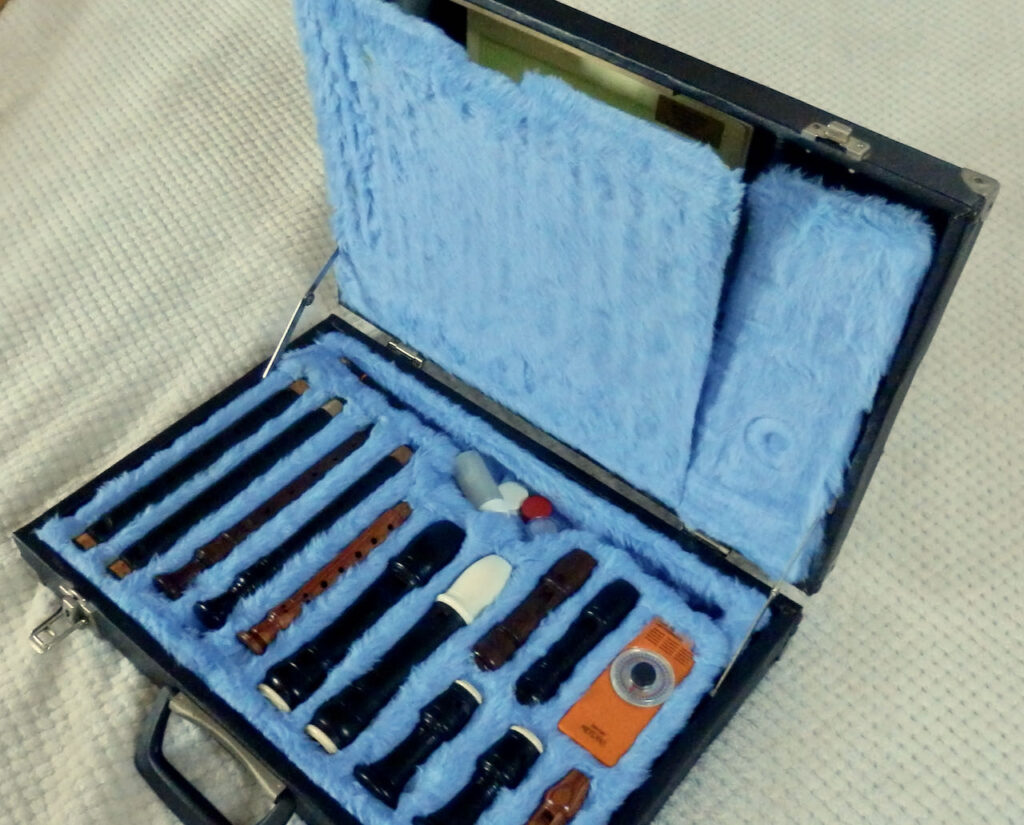
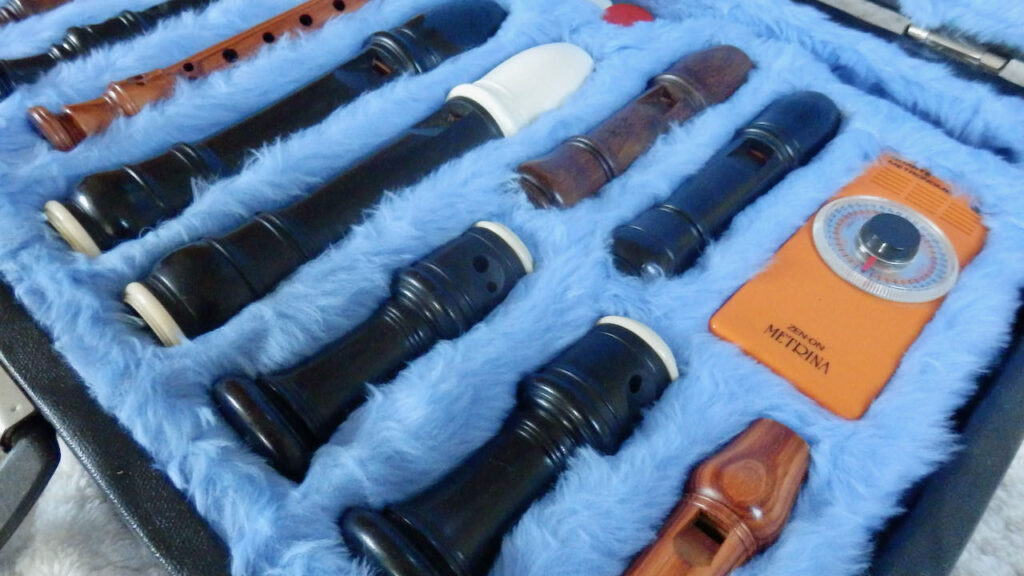
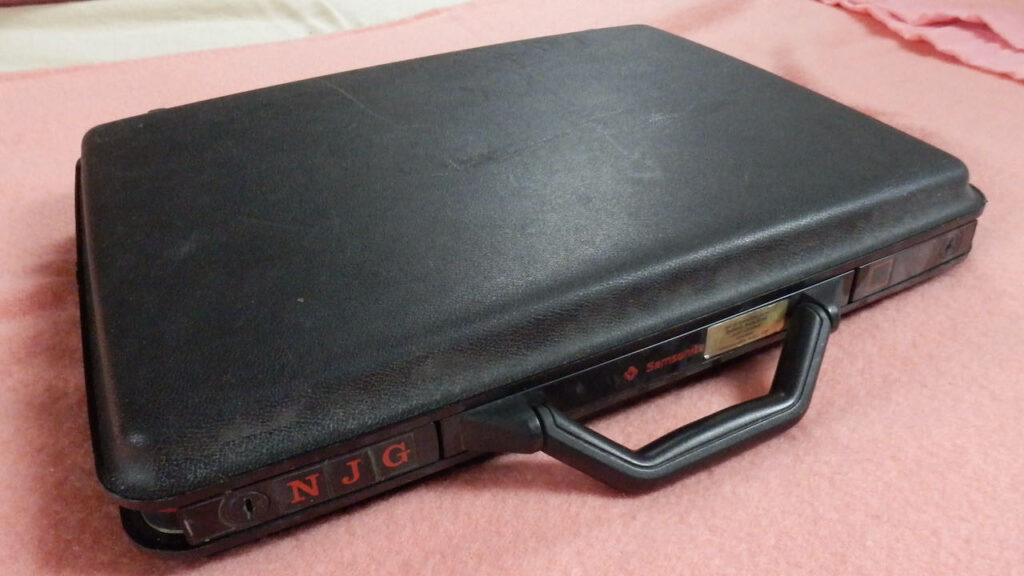
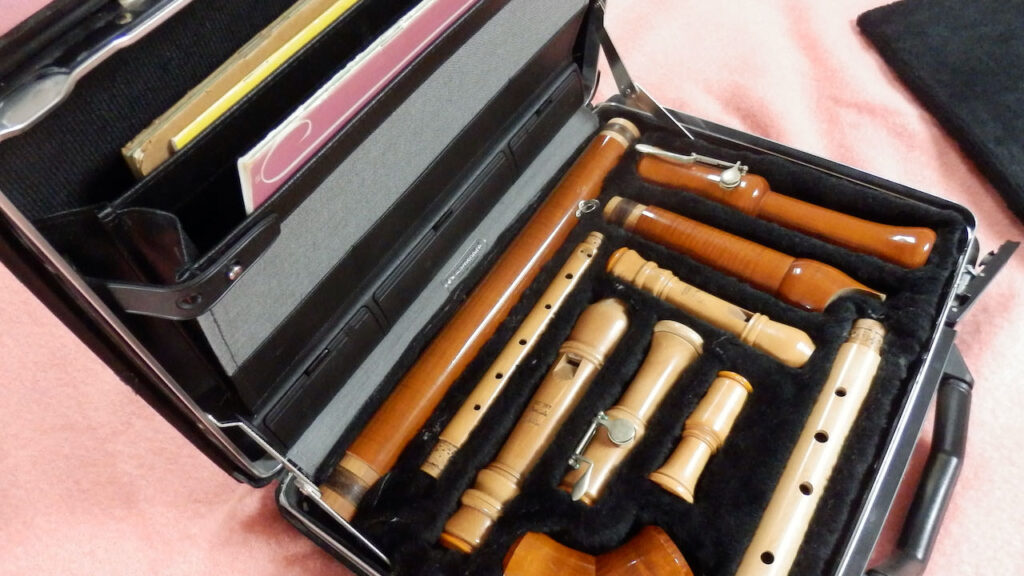
When I did the refit, I also converted my Dad’s old attaché case into a case for the larger instruments…. this too has served very well with space for three more instruments…. treble, tenor and bass.
In recent years however, the addition of a new tenor, bass and great bass has provided a need to rethink things, especially as the new bass has a longer central section and does not fit in the attaché case… and of course, the great bass was never part of that equation!

When I purchased the Paetzold Great Bass, I looked at the custom cases sold by Kunath…. but at nearly £300, it seemed like a very expensive mistake to proceed, as it would mean having individual cases for each larger instrument and carrying that many cases was not really practical…
At this point a project formed in my mind!
The aim was simple…. to provide a means of transporting all the instruments too and from events in a way which was safe, secure and could be facilitated by just me. This might mean covering moderate distances on foot (e.g. 3-400m… from a local car park to a venue) or a trip by public transport…. and to do so using the case with the smaller instruments, plus separate capacity for a tenor, bass, great bass, contra and of course, a section of music….
The Contra (a Coolsma Millennium) was supplied with a case, but at just over 90cm (3ft) long, which is also the length of the bottom section of the instrument, it is already a very large case and would not really benefit significantly from a redesign, but more about that later….
So the new case was to carry the remaining three instruments…. tenor, bass and contra.
I started by laying all the parts out and photographing them as well as measuring them. I then cropped the photos and scaled them using the measurements, so that I could accurately trace the shapes and shuffle them around in a computer document. After a lot of juggling, I came up with an outline layout. I also decided on basic materials for the construction. I chose hardwood ply as it is very strong, relatively lightweight and cheap. Because it is layered with different grain directions, it also does not suffer from warps and distortions and is equally strong on all axis’s. It is also largely weatherproof as it is intended for use by builders in external applications. 12mm ply was chosen for the frame and 5mm for the top, bottom and internal dividers. The plan was to then cover the dividers with 5mm upholstery sponge foam with fur fabric over that to finish. I also looked for a faux leather/vinyl material to cover the outside of the box… so I was delighted to find a very nice looking faux suede which had very good specifications for durability (rub test).
The layout provided a slot for each part and some extra space for slings, spikes, pencils, grease and all the other miscellaneous items a musicians needs. It allowed a 12mm gap between each part to leave space for a foam and fur fabric covered divider.
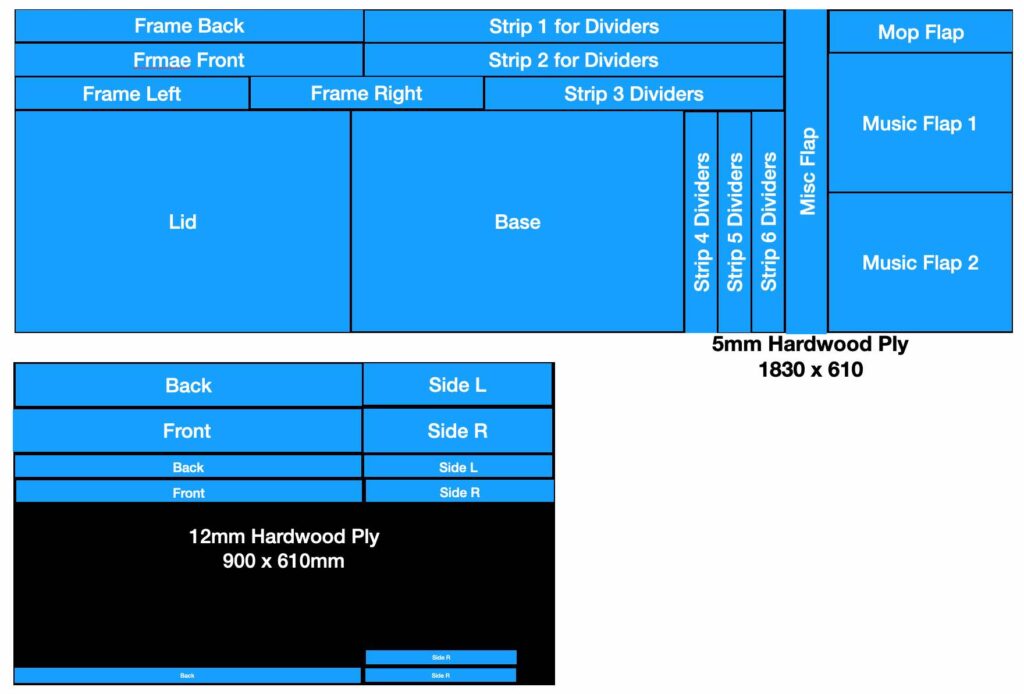
Having created a plan and calculated dimensions, I produced a cutting list for the wooden parts and created a cutting plan on the computer. I found that I needed a small sheet of 12mm ply and a medium sheet of 5mm. This cost me £30 from the local DIY shop.

The traced and scaled outlines of the individual instrument parts.
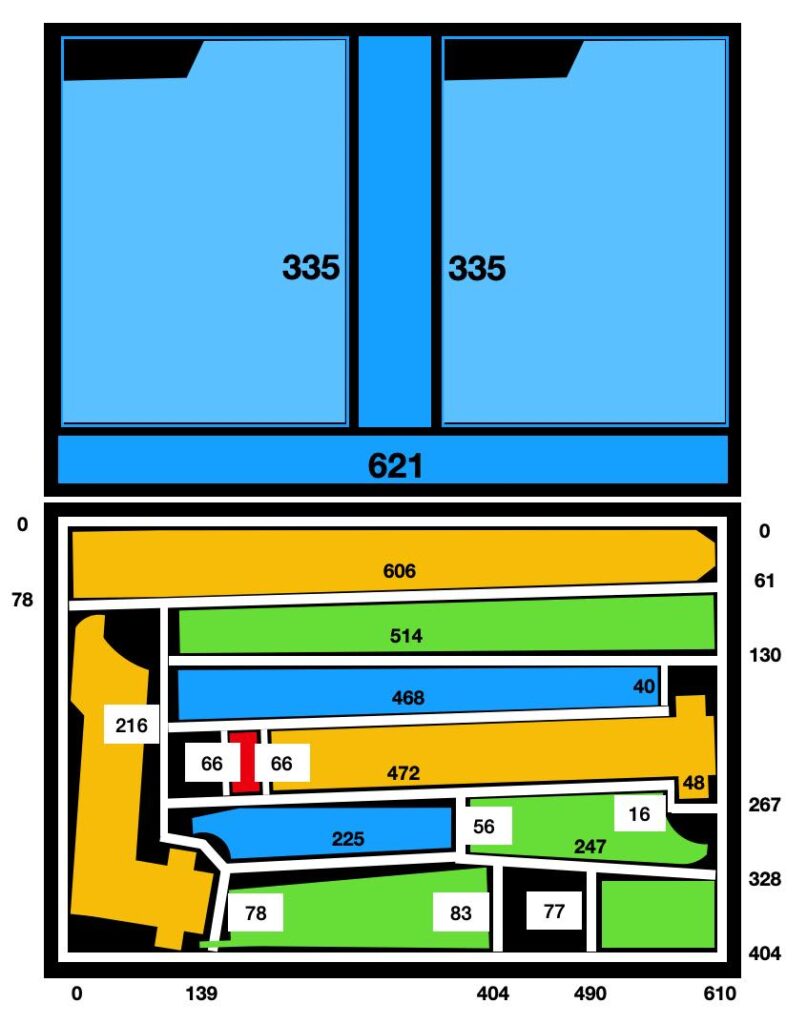
The final plan with accurate dimension for each divider.
I started with the floor/base of the case. Once I had cut the rectangle to size, I marked out where each divider would go, then used a router with a 5mm cutter, to mill 2mm deep grooves into the 5mm ply. This was to improve the structural strength of the internal frame, but realistically, wood glue alone would probably have sufficed.
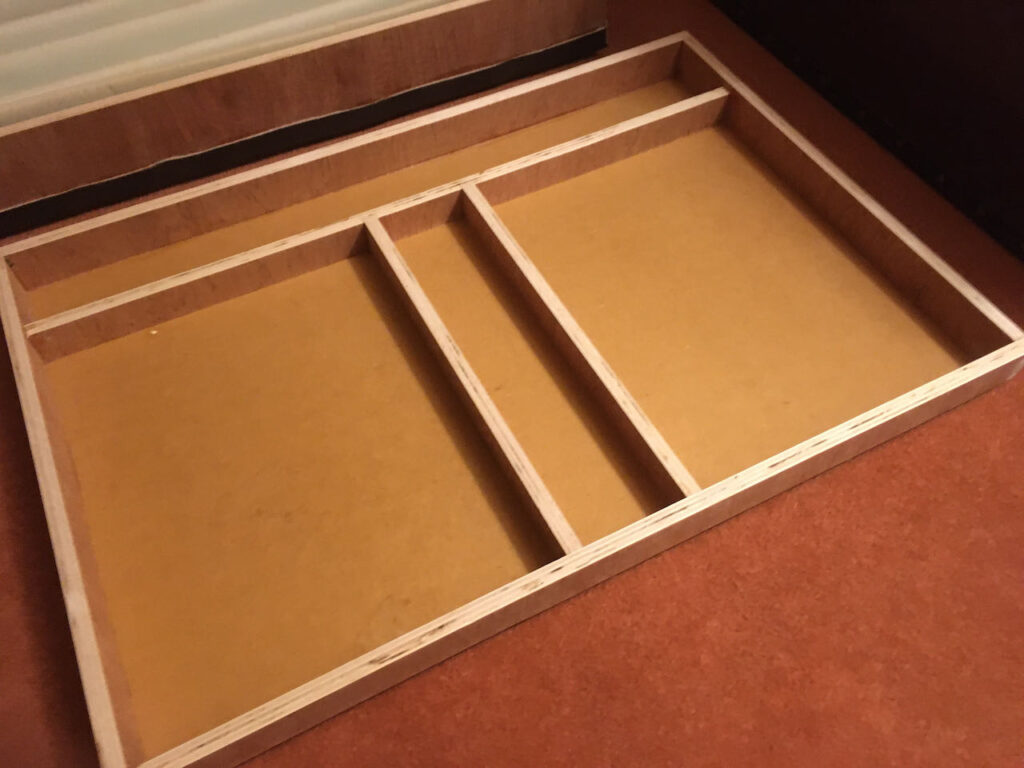
Once the parts were cut out and the grooves milled, I added the dividers – two at a time, to build up a pattern of 90º corners, which meant each part was exactly vertical and could be clamped and supported while the glue dried. Allowing an hour or so between additions, it took several days to fit all 20 parts. At the end, I had a complete 5mm framework including a 17mm gap around the outer edge, for the 12mm outer sides of the box and 5mm inner gap for the sponge foam, fur fabric and the suede.
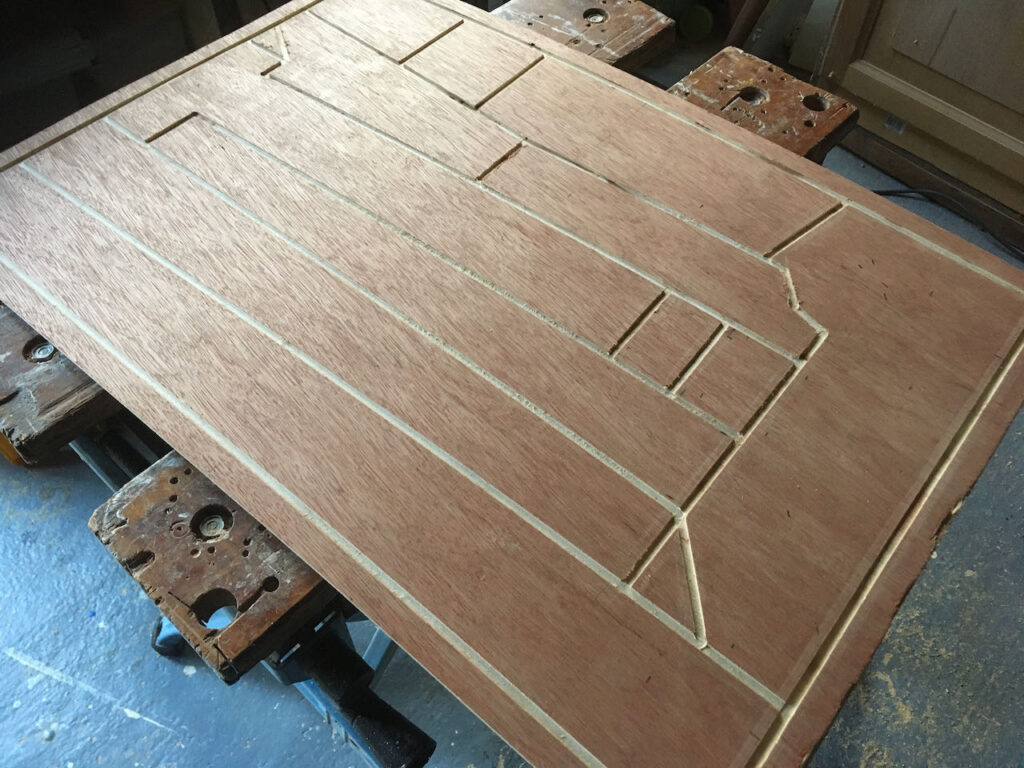
The base of the box, with the grooves for the dividers cut into the surface

The completed framework of dividers, with all the parts loosely placed to prove it fitted.
The next stage was to cover the dividers with foam… I cut out pieces of foam big enough to fold over each divider and reach the bottom on both sides. Double sided sticky tape was used on each side the dividers to hold the foam roughly in place. Then I cut out pieces to sit in the bottom of each slot…. For smaller diameter instruments like the Tenor, I need 4 or 5 layers to make sure the depth of the remaining space matched the instrument’s diameter. These pieces also helped to keep the folded over foam sides in place. The foam was medium density upholstery foam; a company called ‘eFoam’ sell it in 2.3m x 1m sheets for about £12…. They have both a web site and an Ebay shop.
Once covered, the 12mm ply strips which make up the sides were glued and screwed together to create the outer frame and this was fitted over the inner framework and then glued and pinned into place on the base.

The foam covered dividers with the sides now in place too.
The lid, with two large music compartments and two smaller spaces for mops and other miscellaneous items.
The lid was a shallower version of the base, so it was made in a similar fashion. The top rectangle was cut out…. (carefully matched to the base by overlaying them and sanding to exactly the same dimensions…. so the lid fitted well!). The inner framework for the lid consisted of 4 partitions – 2 for music and two for miscellaneous items, so a total of 7 pieces, including the 4 sides. I chose to use the 12mm ply for all of this as it provided so much more structural strength. This time, I started with the 4 sides and then added in the three dividers. (Again, I elected to mill grooves for the dividers to joint into, but this could also have been done with wood glue and screws/pins).
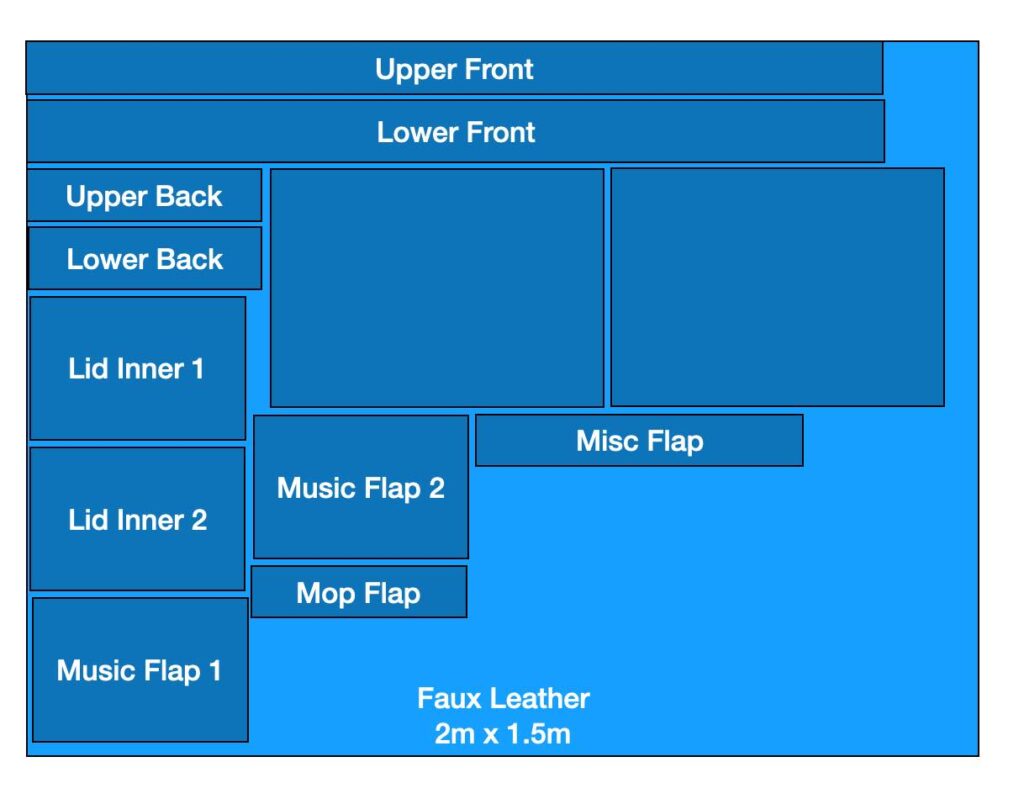
The suede cutting plan.
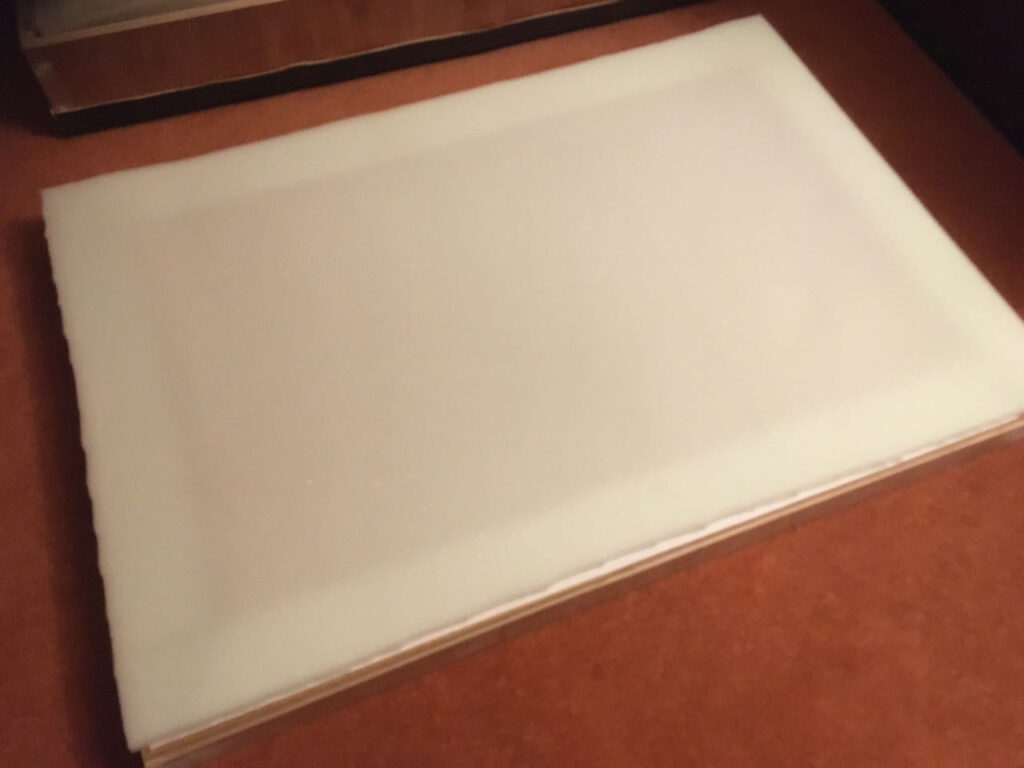
The lid with a sheet of foam on top, ready for the suede to be fitted.
Once the basic box was complete, it was time to cover it…. this was pure self indulgence and it could just have been sanded and varnished… but I wanted something which looked like a proper case! Once again, I drew up a cutting list of the shapes and sizes I would need and laid them out on a plan. The suede fabric roll was 1.5m (5ft) wide and sold by the meter. I calculated that 2m would do the job. I started with the top and bottom…. Firstly, I used some of the foam and double sided tape to cover right up to the edge. It meant the large flat areas would have a soft spongy feel… Next I laid a rectangle of suede over the top and glued a 1cm overlap to the sides of the box using an impact adhesive. I pulled the suede tight as I stuck it down, so that the foam was compressed at the edges. Next, I cut a long strip of suede to cover the sides…. I actually did this in two lengths which went from hinge to hinge… one long length right around the perimeter and a shorter one across the the central back area. The suede was first hemmed over and glued down (Wanted to stitch this, but my wife’s sewing machine did not like the suede… it was just too thick and tough!) and then glued up to the top/bottom edge of the box, before being carefully cut in a mitred fashion over the lip of the box and the remainder fed down the gap between outer dividers and the sides. For the top, it was a little more exacting, as there was no inner frame to hide the ends… this time, it needed to be glued right up to the inside back of the lid and then carefully trimmed to size. The suede proved very tough to cut and even a sharp Stanley type knife made heavy work of this! The lid also required an inner covering, so each divider had a piece of suede cut and glued over it, before rectangles of suede were used to fill the backs of the each partition. The shorter strip for the space between the hinges was hemmed over on three sides, so it masked the joins between to the parts.
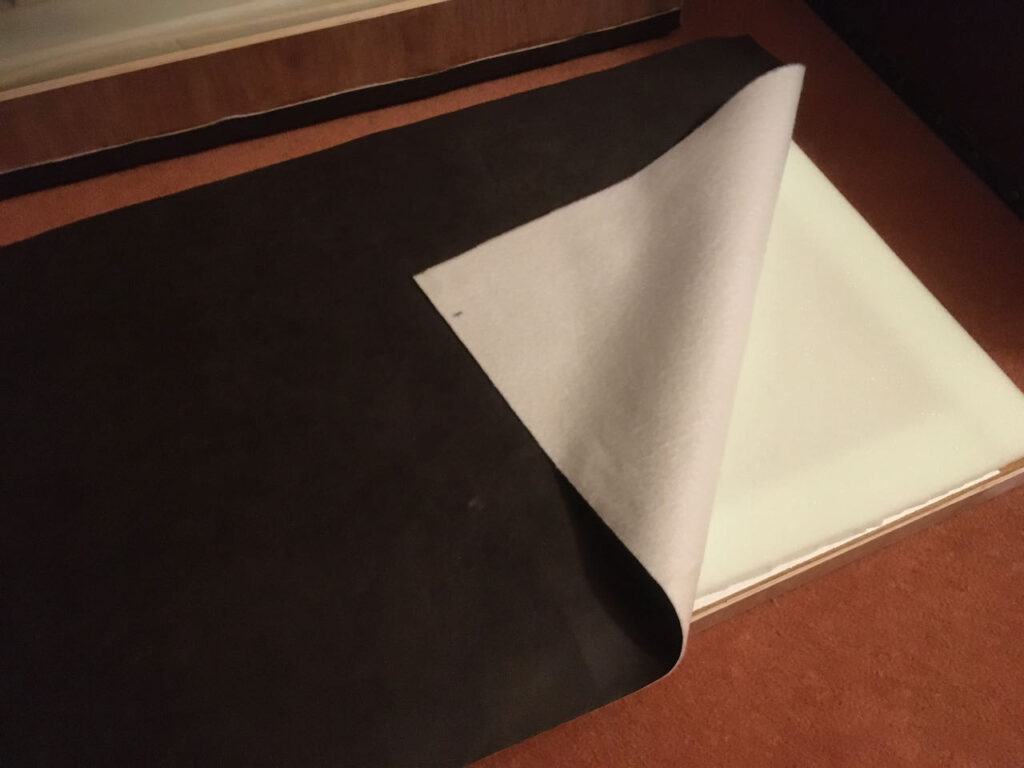
The Suede is placed over the foam and ready to be glued to the sides.
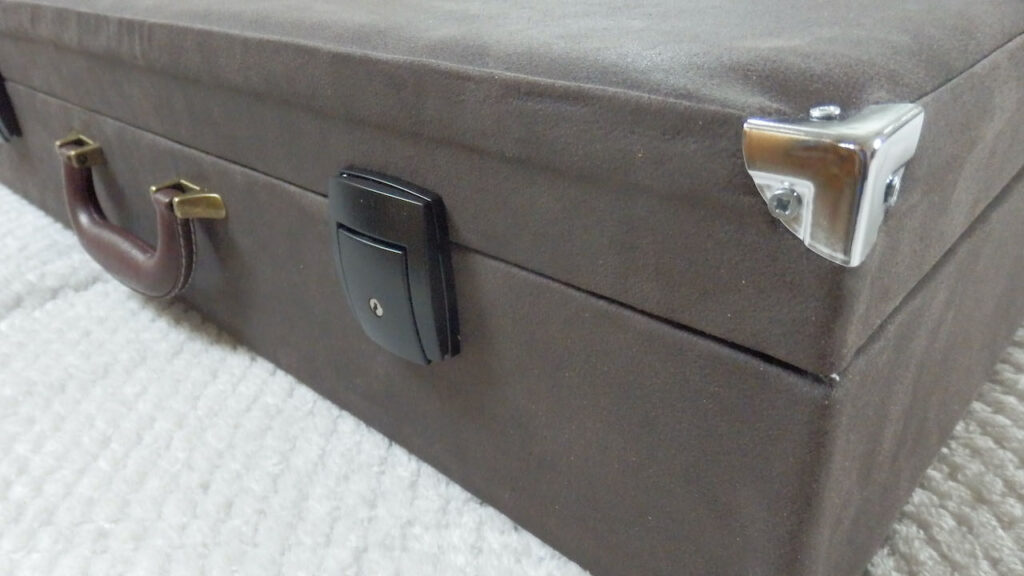
The finished upholstery with metal corner added.
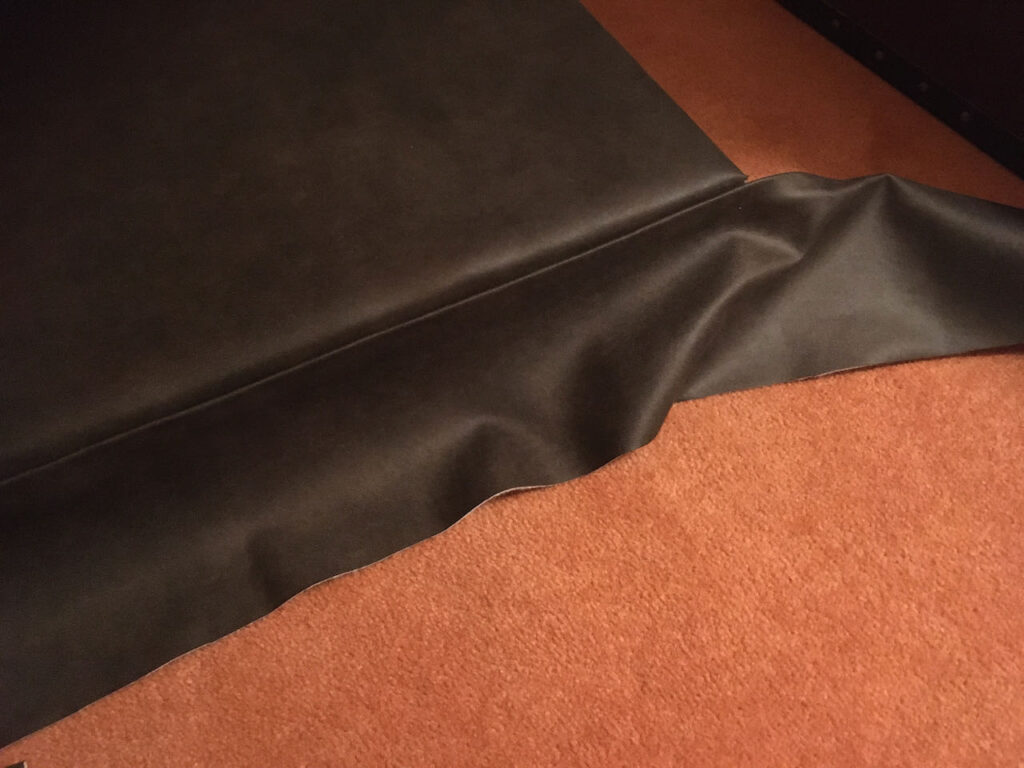
Fitting the long strip around the perimeter of the lid. The remained will fold over to the inner walls.

The join between the long and short strips around the perimeter, with the hinges adjacent.
The hinges were next to be added… I was keen to avoid the need for any stays or arms to retain the lid… so managed to find some very sturdy hinges designed for flight cases. These hinges open to 95º and are designed for large heavy duty applications like stage equipment. The hinges were placed up tight against the join between the two outer strip of suede…. this helps hide the join the provides some protection for that overlap. 4 small upholstery nails complete that job.
The handle and catches were added… there is an enormous choice on the web and I chose some very nice die-cast locks made by Penn-Ellman. At £6 each, they were more expensive than many…. but are quality bits of kit and do look the part! I also added metal corners and some rubber feet to provide extra protection…. Once again, the web allows us to find specialist shops and suppliers… and sites like Ebay have enormous choice and cost trivial amounts.
Finally, the inside needed to be completed…. the fur fabric was fitted in a single piece…. carefully pushing it into all the slots and then fitting all the instruments in place. It actually has little holding it in place because the foam is quite grippy, so it doesn’t seem to move, although a couple spots for the largest slots, did get a small amount of double sided tape to provide better traction. At the edges, the fabric is forced down the 5mm gap between the inner and out frame. A polythene Kenwood cooking spatula proved excellent for doing this without damaging the suede, foam or fur!
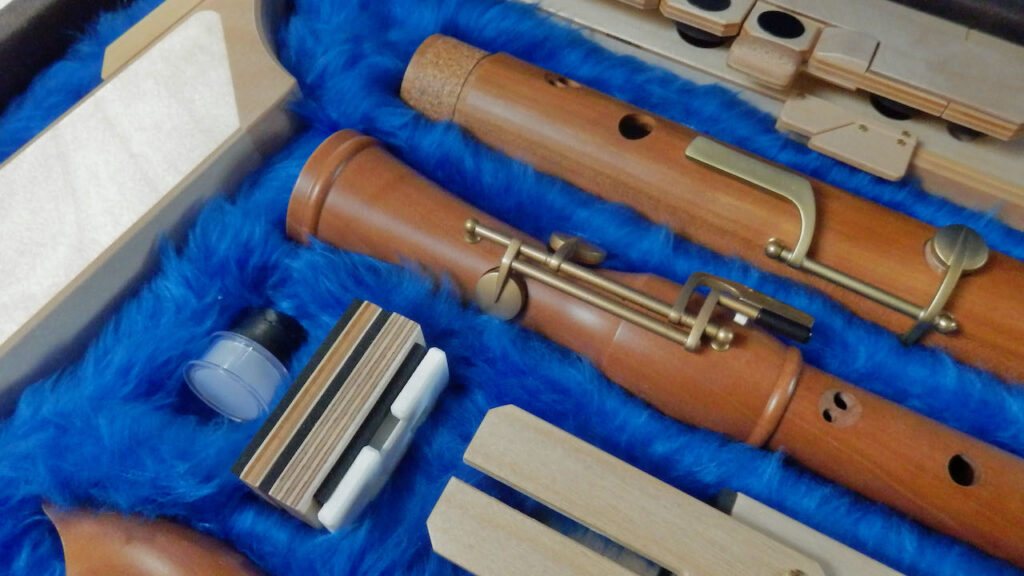
To complete the lid partitions…. Four 5mm plywood rectangles were cut to match the 4 partitions. These had foam and fur fabric fitted on one side and a piece of hemmed suede glued on to the back to hold it all in place. Using some tiny hinges and screws, each was then screwed in to place so it can fold outwards. A small amount of ribbon stops each from opening too far and some magnetic strips used to hold them in place when shut.
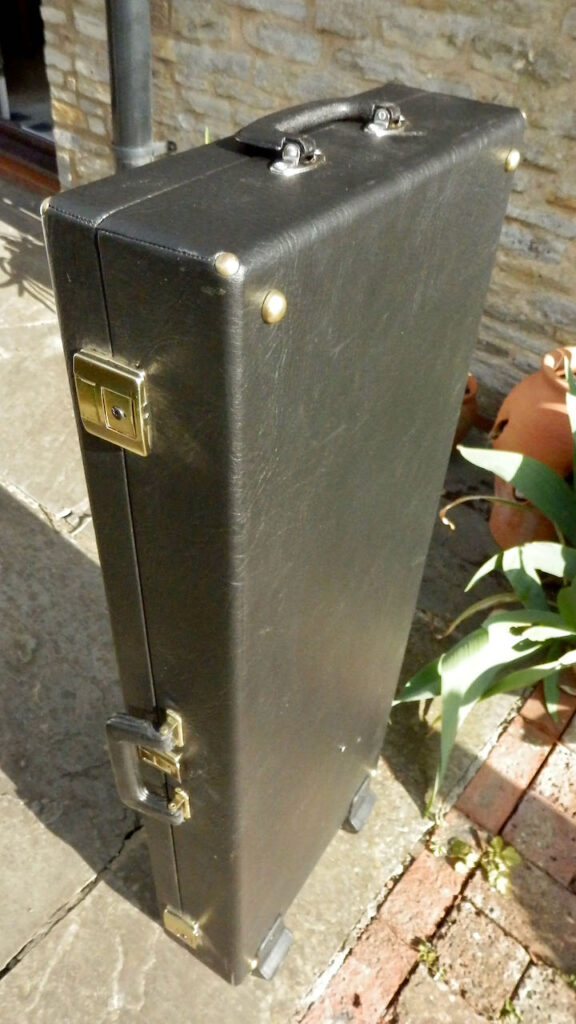
The result… a rather smart looking box with space for the tenor, bass and great bass… room for a 6cm (2.5″) stack of music in the two larger lip compartments and space for all the misc items too… and all about the same size as a carry on case for your holiday flight!
The total bill for making it came to about £120…. so about 40% of the Kunath box…. but with space for 2 extra instruments and music to boot.

The hinges are strong and include a mechanism which limits them to 95º.
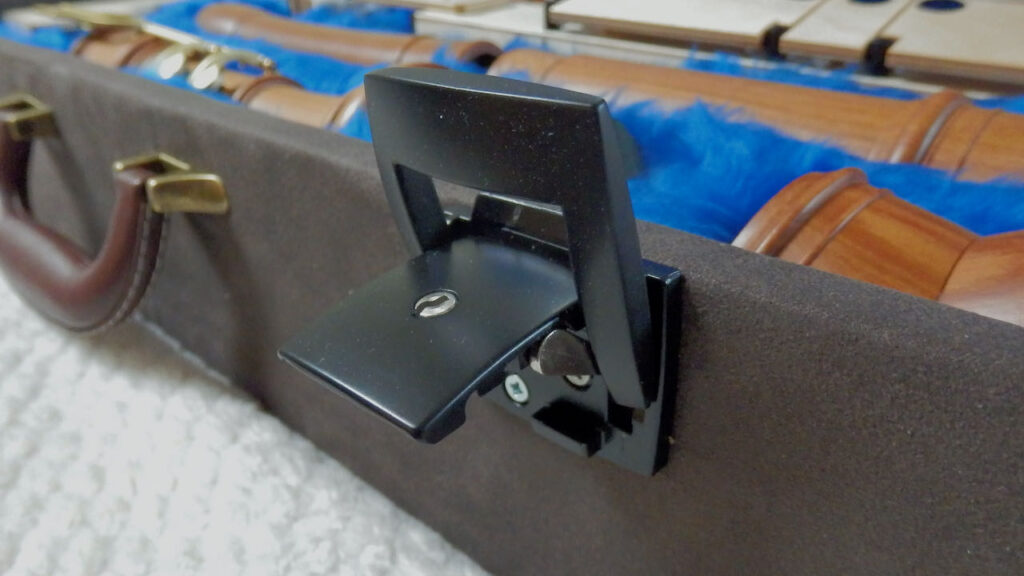
The locks are die cast metal and feel strong and positive when they latch.
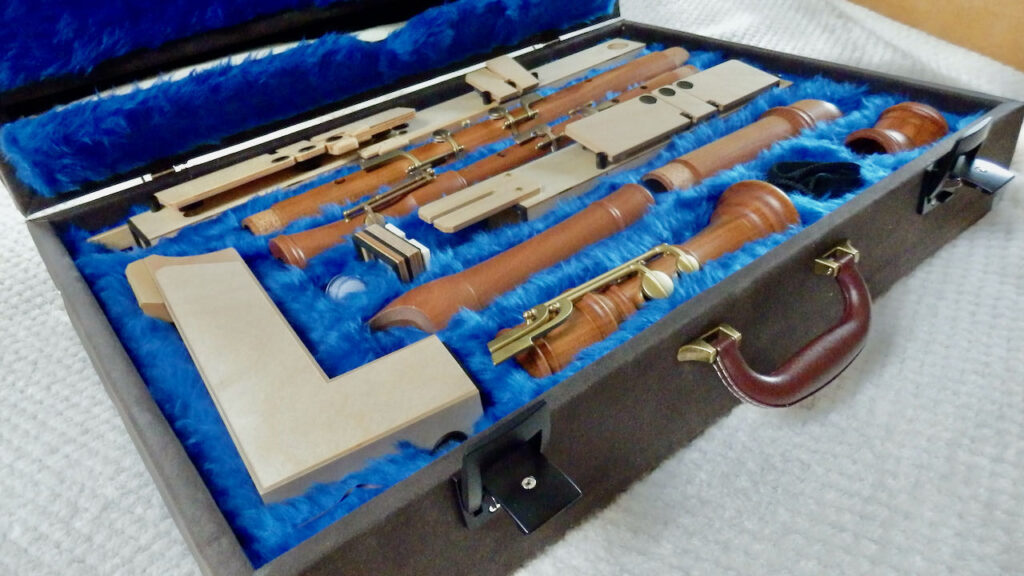


...and putting it all together?
The last part of the plan was to make the Contrabass case more portable and in particular with respect to being manageable with the other two cases…
At 90cm x 40cm x 12cm, it is somewhat unwieldy and quite heavy to carry – even on its own… So it therefore seemed sensible to improve its portability.
In my research for parts of the new box, I had discovered lots of fittings for cases and in particular, a very robust pair of wheels for just £6… Fitting these to the left bottom edge and coupling that with a second handle on the righthand edge, meant the case could be treated much more like a modern suitcase and effectively dragged rather than carried.
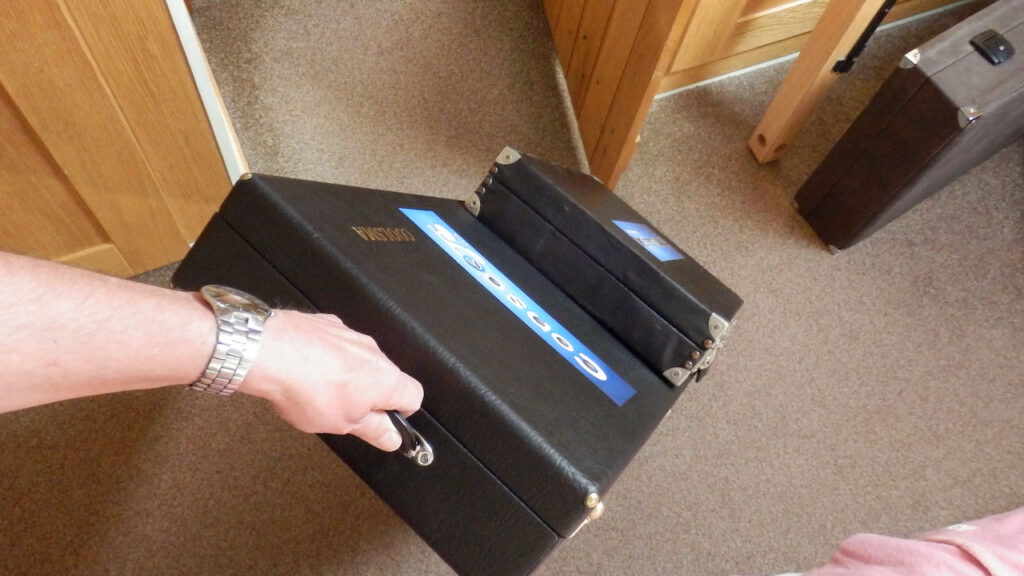
The addition of a plywood plate (made from left over scraps) created a lip above the wheels and with a bungee cord from the local DIY shop, it created everything needed to allow the smaller, older box to ride piggyback on top. The final element was to use a rubber door stop as a foot, so the case is capable of independently standing upright… and all for just £10.
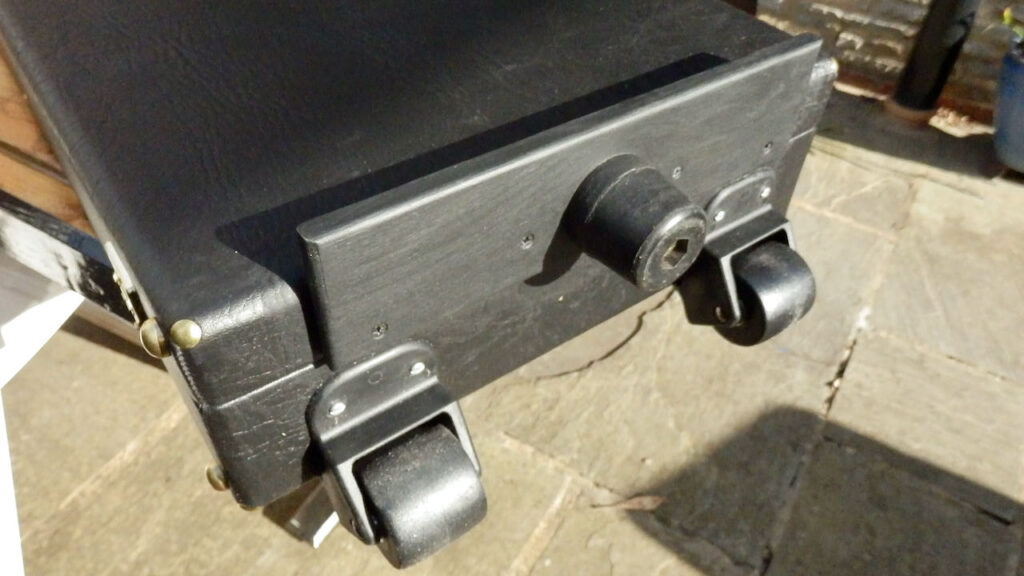
The wooden lip with the rubber foot allow the case to stand upright.

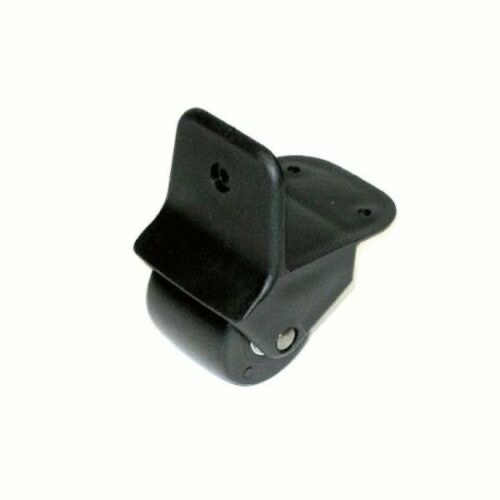
The wheels are strong and chunky rubber, with proper bearings and a solid looking framework.
Instrumental Improvements...
Earlier this year. I took delivery of a Paetzold Great Bass. It is the Knick system model. Although happy with the way it plays, it did have a couple of issues which were a problem.
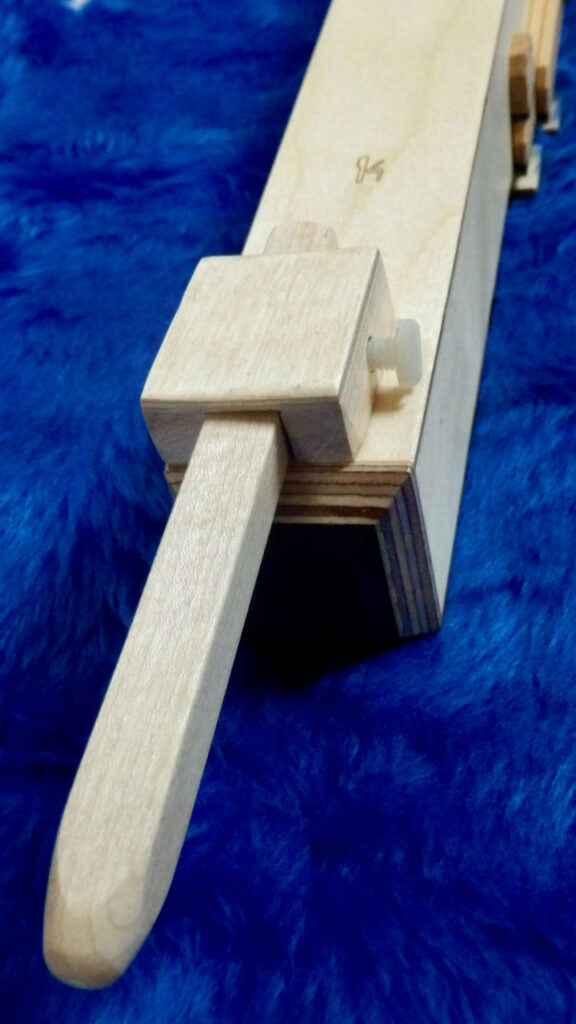
A Floor Spike
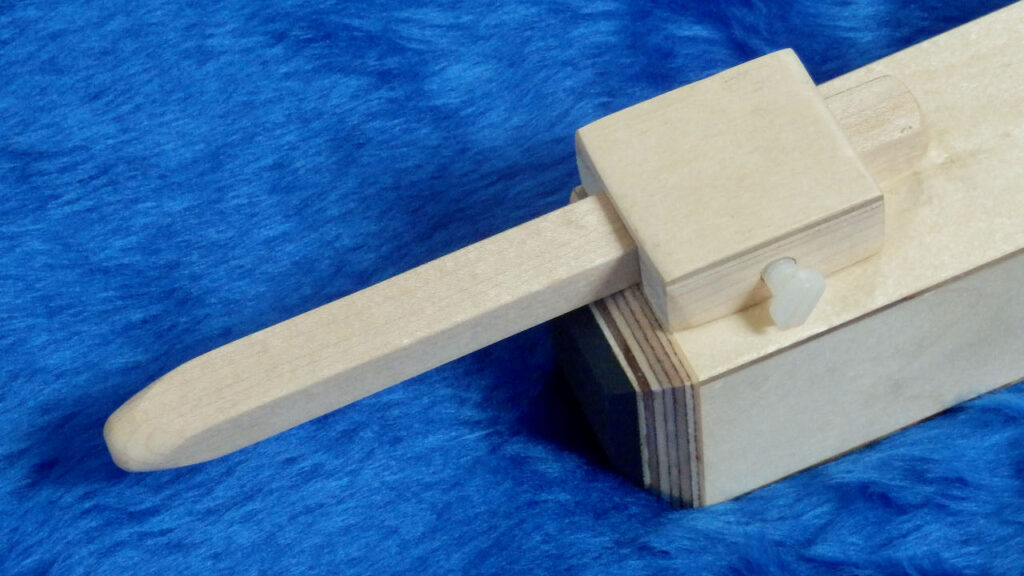
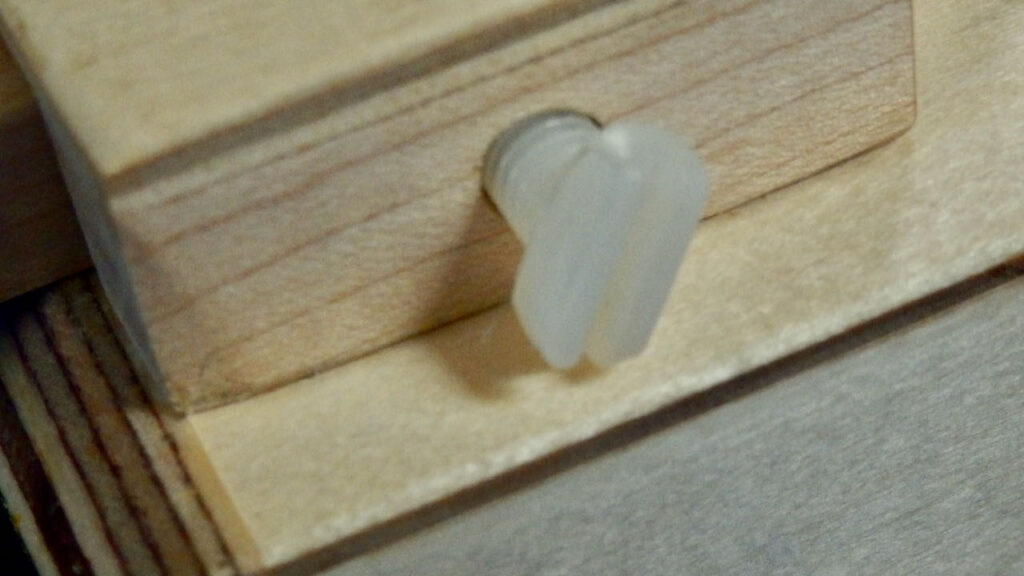
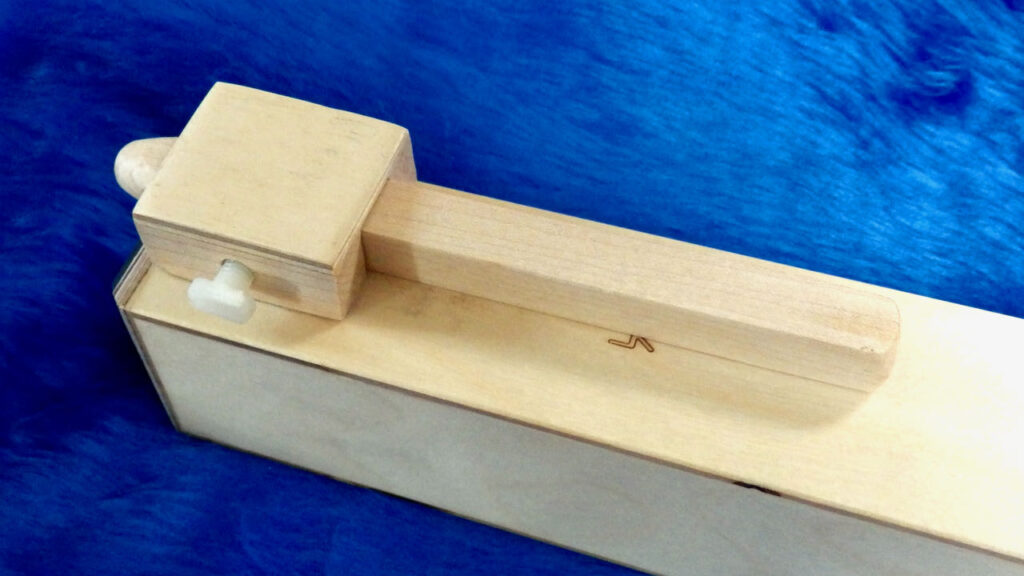
The first is that although it has a rubber foot to stand on the ground when playing, unless you are sat on a very low chair or want to mimic Quasimodo, it is just too short to be useful. It needs to be about 10cm (4″) taller. Paetzold supply a spike with the standard Great Bass which has a bocal and has an even lower blowing position, but this is a telescopic arrangement which can do sitting and standing, so would probably be way too long the knick model…. so I set about making my own. I had some scraps of maple wood left over from a recent project to make a jewellery box for my niece, so that and some leftover scraps of 3mm birch ply (which originally came as an A4 sheet from the local craft/hobby shop) provided exactly what was required. A nylon bolt and nut which were extras and were sitting in a jar in the workshop provided the adjustment control.
At present the spike is about 5 inches long, which is more than adequate for me, however, I still have more maple, so could make a spike up to a foot long if required compared to the black plastic sleeve of the Paetzold spike, I think this is much more elegant… however, it is glued in place semi-permanently…. but it also cost only an hour of my time. If you wanted to make your own… a quick trip to a local joiner or cabinet maker to beg an off-cut of beech or maple, and buying an A4 sheet of ply in the hobby shop and you have all that is required!
Key Modifications...
Having played the instrument for a couple of months I also decided on two more minor tweaks….
The first was to add a coupler between the thumb key and the break key. Normally these are placed adjacent to each other, but in reality, it requires the thumb to move 2cm (1″) to the left or right as you switch registers from lower to upper. This is fine for basic operation, but I find it limiting for faster, more challenging passage work. The coupler consists of a 2.5cm (1″) square of 3mm birch ply which is glued to the break key, but overlapping the thumb key. I have carefully shaped it around the black thumb indentation to get it as close as possible. The result is that switching registers is now nothing more than a slight roll of the thumb… much the same as I would use to half hole on the small instruments… ideally, it should have been on the other side…. but clearly, that was not going to be possible. I note that Paetzold actually offer a similar coupling for the sub bass instruments… but not the bass or greatness models.
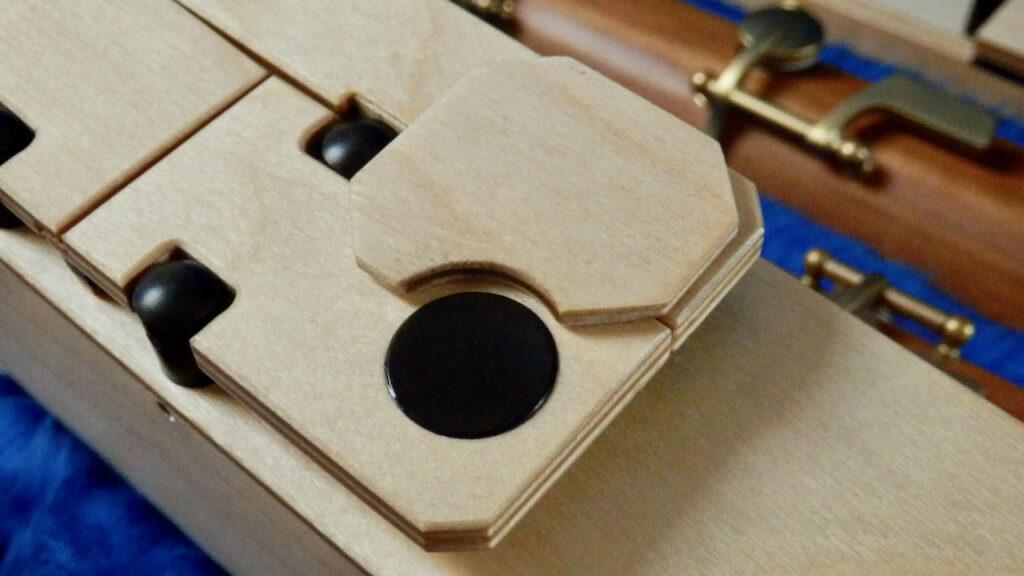
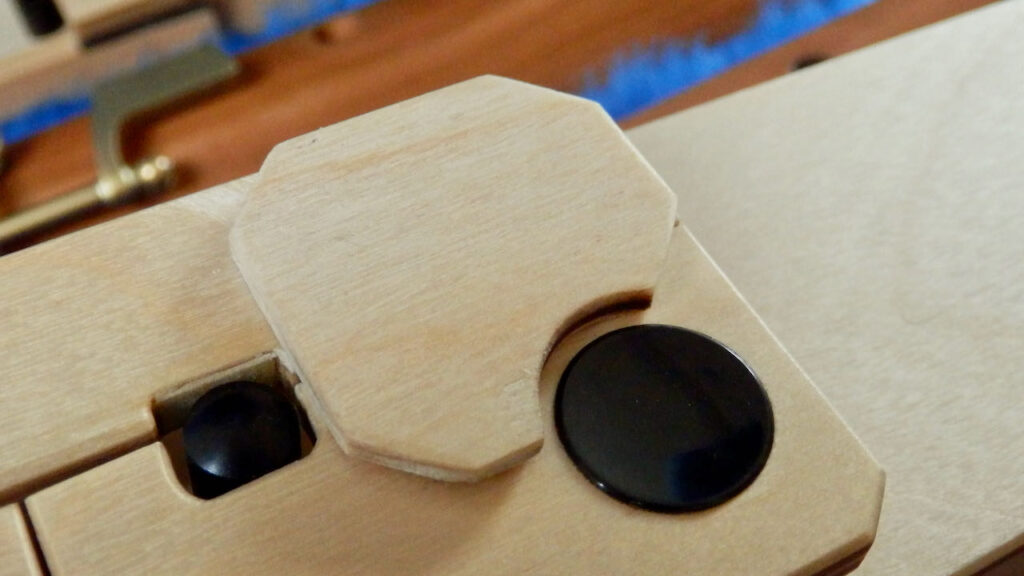
The third adjustment was to the fourth finger half hole (E♭/D#). On the big instruments, this is actually a separate hole further down the instrument, with a separate key. In the case of Paetzold, they provide a third key for the fifth finger to operate. It is an excellent idea, but because of the lower playing position compared to the standard ‘bocal’ version, the right arm is well extended below the knee, when playing. Because of the angle of the knick joint, the lower position is effectively ‘non-negotiable’, but it means a much tighter angle for the wrist…. The result is that although I can comfortably reach the normal two keys (F and F#) with my fifth finger, however the extra key, which is in line with the three for 2nd, 3rd and 4th finger, so 2cm further over, is pretty well out of reach…
To fix this issue, I have added a second key for this. It means I can now use either my fifth finger as Paetzold intended, or go back to the standard method of using the fourth finger in an adjacent position. Once again, a tiny scrap of maple for the key and a little piece of ply have delivered the goods…. Not quite a perfect match…. but certainly close enough.


Mopping Up...
Keeping recorders dry and clean is important. Wet wood might warp, split, rot or go mouldy. Which ever it might be, it will be catastrophic for the recorder’s health and possibly your bank balance too!
For as long as I have been playing, music shops and recorder manufacturers have made mops to wipe the innards of your recorder. Often these are made of wool or a synthetic fibre…. neither of which absorbs water….
‘Useless’ is a word that springs to mind!
Talk to expert makers and you will hear horror stories of recorders full of fluff shed from the mop… so woolly mops do not clean…. they actually makes the instrument grubbier!
Many years ago, I solved this problem, by covering my mops with the remains of an old pillow case… After many years of use, it was very supple and anything that was likely to shed had long since gone. It was also very absorbent. A square of this material, wrapped 2 or three times around the mops and then stitched top to bottom to keep it in place made for a much better result and when it got too dirty, the whole thing could be washed and dried or the fabric cut off and a new square added.
I still have a variety of these, but have recently found an even better solution…
Instead of using a mop, I bought a set of different sized bottle brushes. They are designed for cleaning sinks and plug holes, so are made of galvanised wire and nylon bristles… Cover these with cotton or linen and you not only have a highly absorbent mop but one which is also soft and squashy, but springy too, so it will fit through the whole bore, top to bottom, wide to narrow without risk of getting stuck… I bought a set of about 8 different sized brushes for little more than £2… and an hour with a needle and an old shirt, made the best mops I have ever had…. and they certainly clean up anything loose, so get quite dirty and definitely need regular washing.
Finally, I needed something for the big instruments…. bottle brushes on this scale are too stiff and rough to be useful (these really are designed for cleaning drains… big drains!)… so I bought a traditional mop designed for a tenor saxophone which was very soft and very pretty…. but like all other mops, it seemed incapable of doing anything other than spreading the moisture around… However, once covered, it too is now delivering a good drying capability and can be effective on both the bass and great bass instruments.
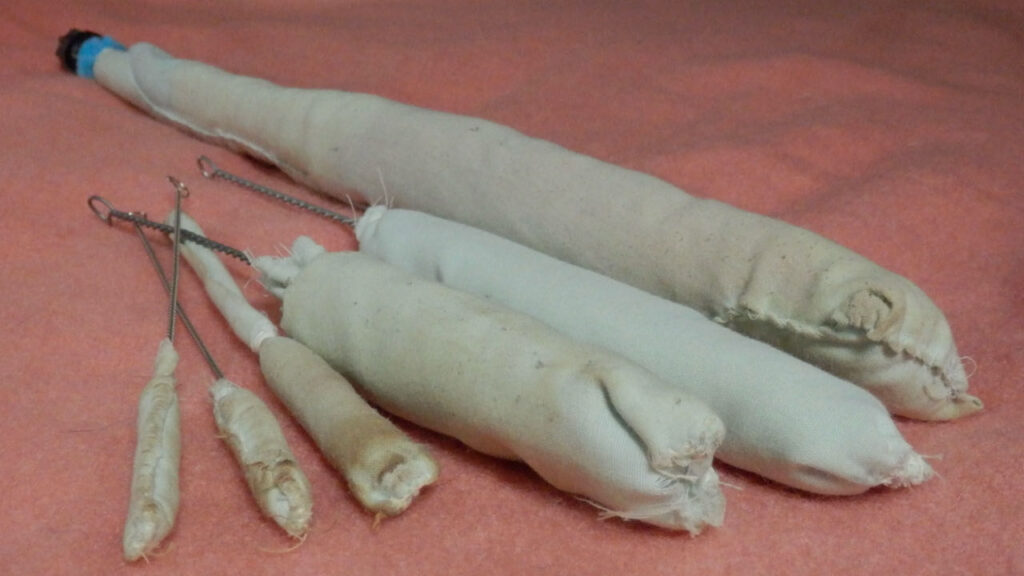


A set of brushes cost about £2 and once covered with fabric, make excellent mops.
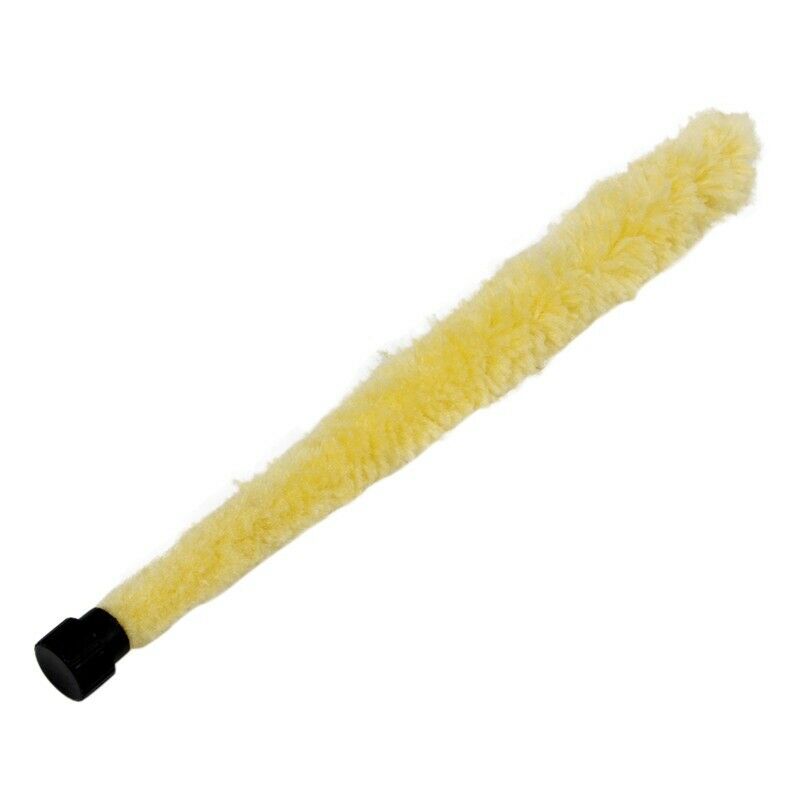
A mop for a Tenor Sax makes an excellent starting point for a bass/great bass mop… but needs to be covered to make it more absorbent and stop it shedding fluff inside your instrument.